If you haven’t already figured it out…. I have a new obsession! Bullet Journaling! I often wish I had more time to just sit and doodle and organize in my journal. And I love nothing more than coming up with new plans for making my bullet journal awesome. I love it so much I even wrote an entire post dedicated to how I use my bullet journal for blogging. Click here to check that out.
Since I’ve been bullet journaling now for about 2 months I’m moving into the 202 style stuff. I’m building up my pen supply as well as finding out which products I like, what kind of paper/journal I like etc. I’ll write a more detailed review of the products in the near future but for now… let’s talk about stencils.
I started looking at stencils online when I started bullet journaling because I was sure they would save me some time and energy as I made my pages. What I found though was that I couldn’t find exactly what I wanted in the stencils. There were shapes I knew I’d never use and not enough of what I was sure I would use. So… I had an idea. Dangerous… every time. Just ask my husband.
I decided to make my own stencil. Here’s how.
I took this plastic coated folder I had laying around and opened up the flaps.
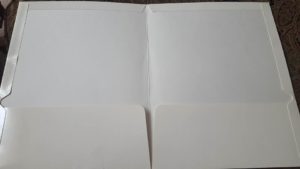
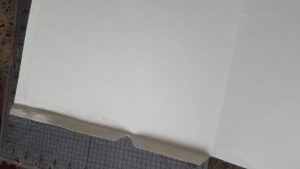
After peeling the flaps open I cut them off to create a smooth piece that will lay flat on my bullet journal.
Measure the pages of your bullet journal and cut rectangles the size of your journal page. I used my paper cutter for scrapbooking. It’s handy ruler made this easy and very quick.
Then the fun begins! Dig through all of your favorite paper supplies and pull out stickers and tags with shapes that you think you’ll use in your bullet journal.
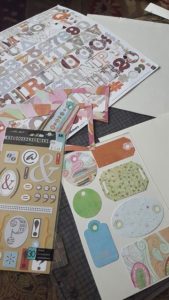
I pulled out anything that looked like I would like the shape of the outside. Ovals, rectangles, squares, etc.
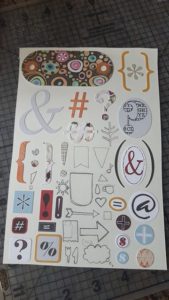
Then stick the tags and stickers to the non-plastic side of the sheet you’ve cut to the size of your journal. I used tape for the tags that didn’t have sticky backs. Then I stuck the stickers right onto the paper. Remember… you’re going to cut them out anyways.
Don’t leave empty space. Draw in any shapes you think are missing. Try to do a better job than I did… k?
Then take a fine cutting tool that you’re comfortable with and start cutting away. I used an exacto style knife like this.
Start cutting around the outside of the shapes. And voila… your stencil emerges.
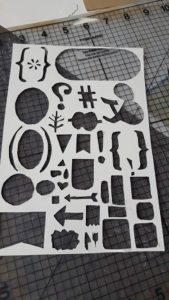
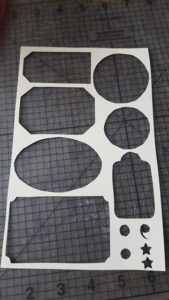
And there you have it! Store the stencils in something flat that won’t bend so that you don’t bend it…
A few thoughts: If you happen to have one of those plastic folders… I bet this would work just as well and you wouldn’t have to worry about bending.
I also found circles incredibly difficult to cut and get really perfect. So I’d skip circles next time.
The great part about this is that I can make as many stencils as I’d like. With any shapes I’d like as well.
Hope you found some good inspiration and have a great time making your own bullet journal stencils.
#sonottogether
PS. I keep an awesome Pinterest Board on Bullet Journaling! Follow for awesome ideas!
STENCIL ONLINE SHOPPING GUIDE
If you like the idea but not the work that goes into it… consider purchasing a stencil or two from Amazon. Here’s a few great options.
*These links are affiliate links… which means at no additional cost to you I receive a very small return if you purchase a product I’ve recommended. Don’t worry… I’ve only made like $3.00 so far… we’re not making mortage payments here!

5 Comments
am thinking of making my own stencils too so am looking for inspiration, like your page to do so..what l thought of using is the plastic sheets that you laminate with and just laminate them together..then you can do what you said above to putting shapes on to then cut out..with having the see through laminate it is easier to see where you are putting it on your page with being see through..also this way you can make two A5 size stencils to use/store in journals…
for circles use a lid off of a bottle or container the size you want and hold it firmly while cutting around it….
This is such a great idea! I’m going to try it and I think I’ll try to make them small enough to fit in the pocket in the back of my bujo. Thank you for the inspirations!
Que ingeniosa eres!!! trataré de hacerlo en acetato para poder ver mejor la ubicación y al mismo tiempo que sea mas duradero. Gracias por la idea!!
Love the idea! I would laminate then cut out and cut again to have a firm plastic stencil….. or you can buy uncut stencil plastic at a craft store and cut from there 🙂